Team & Permissions
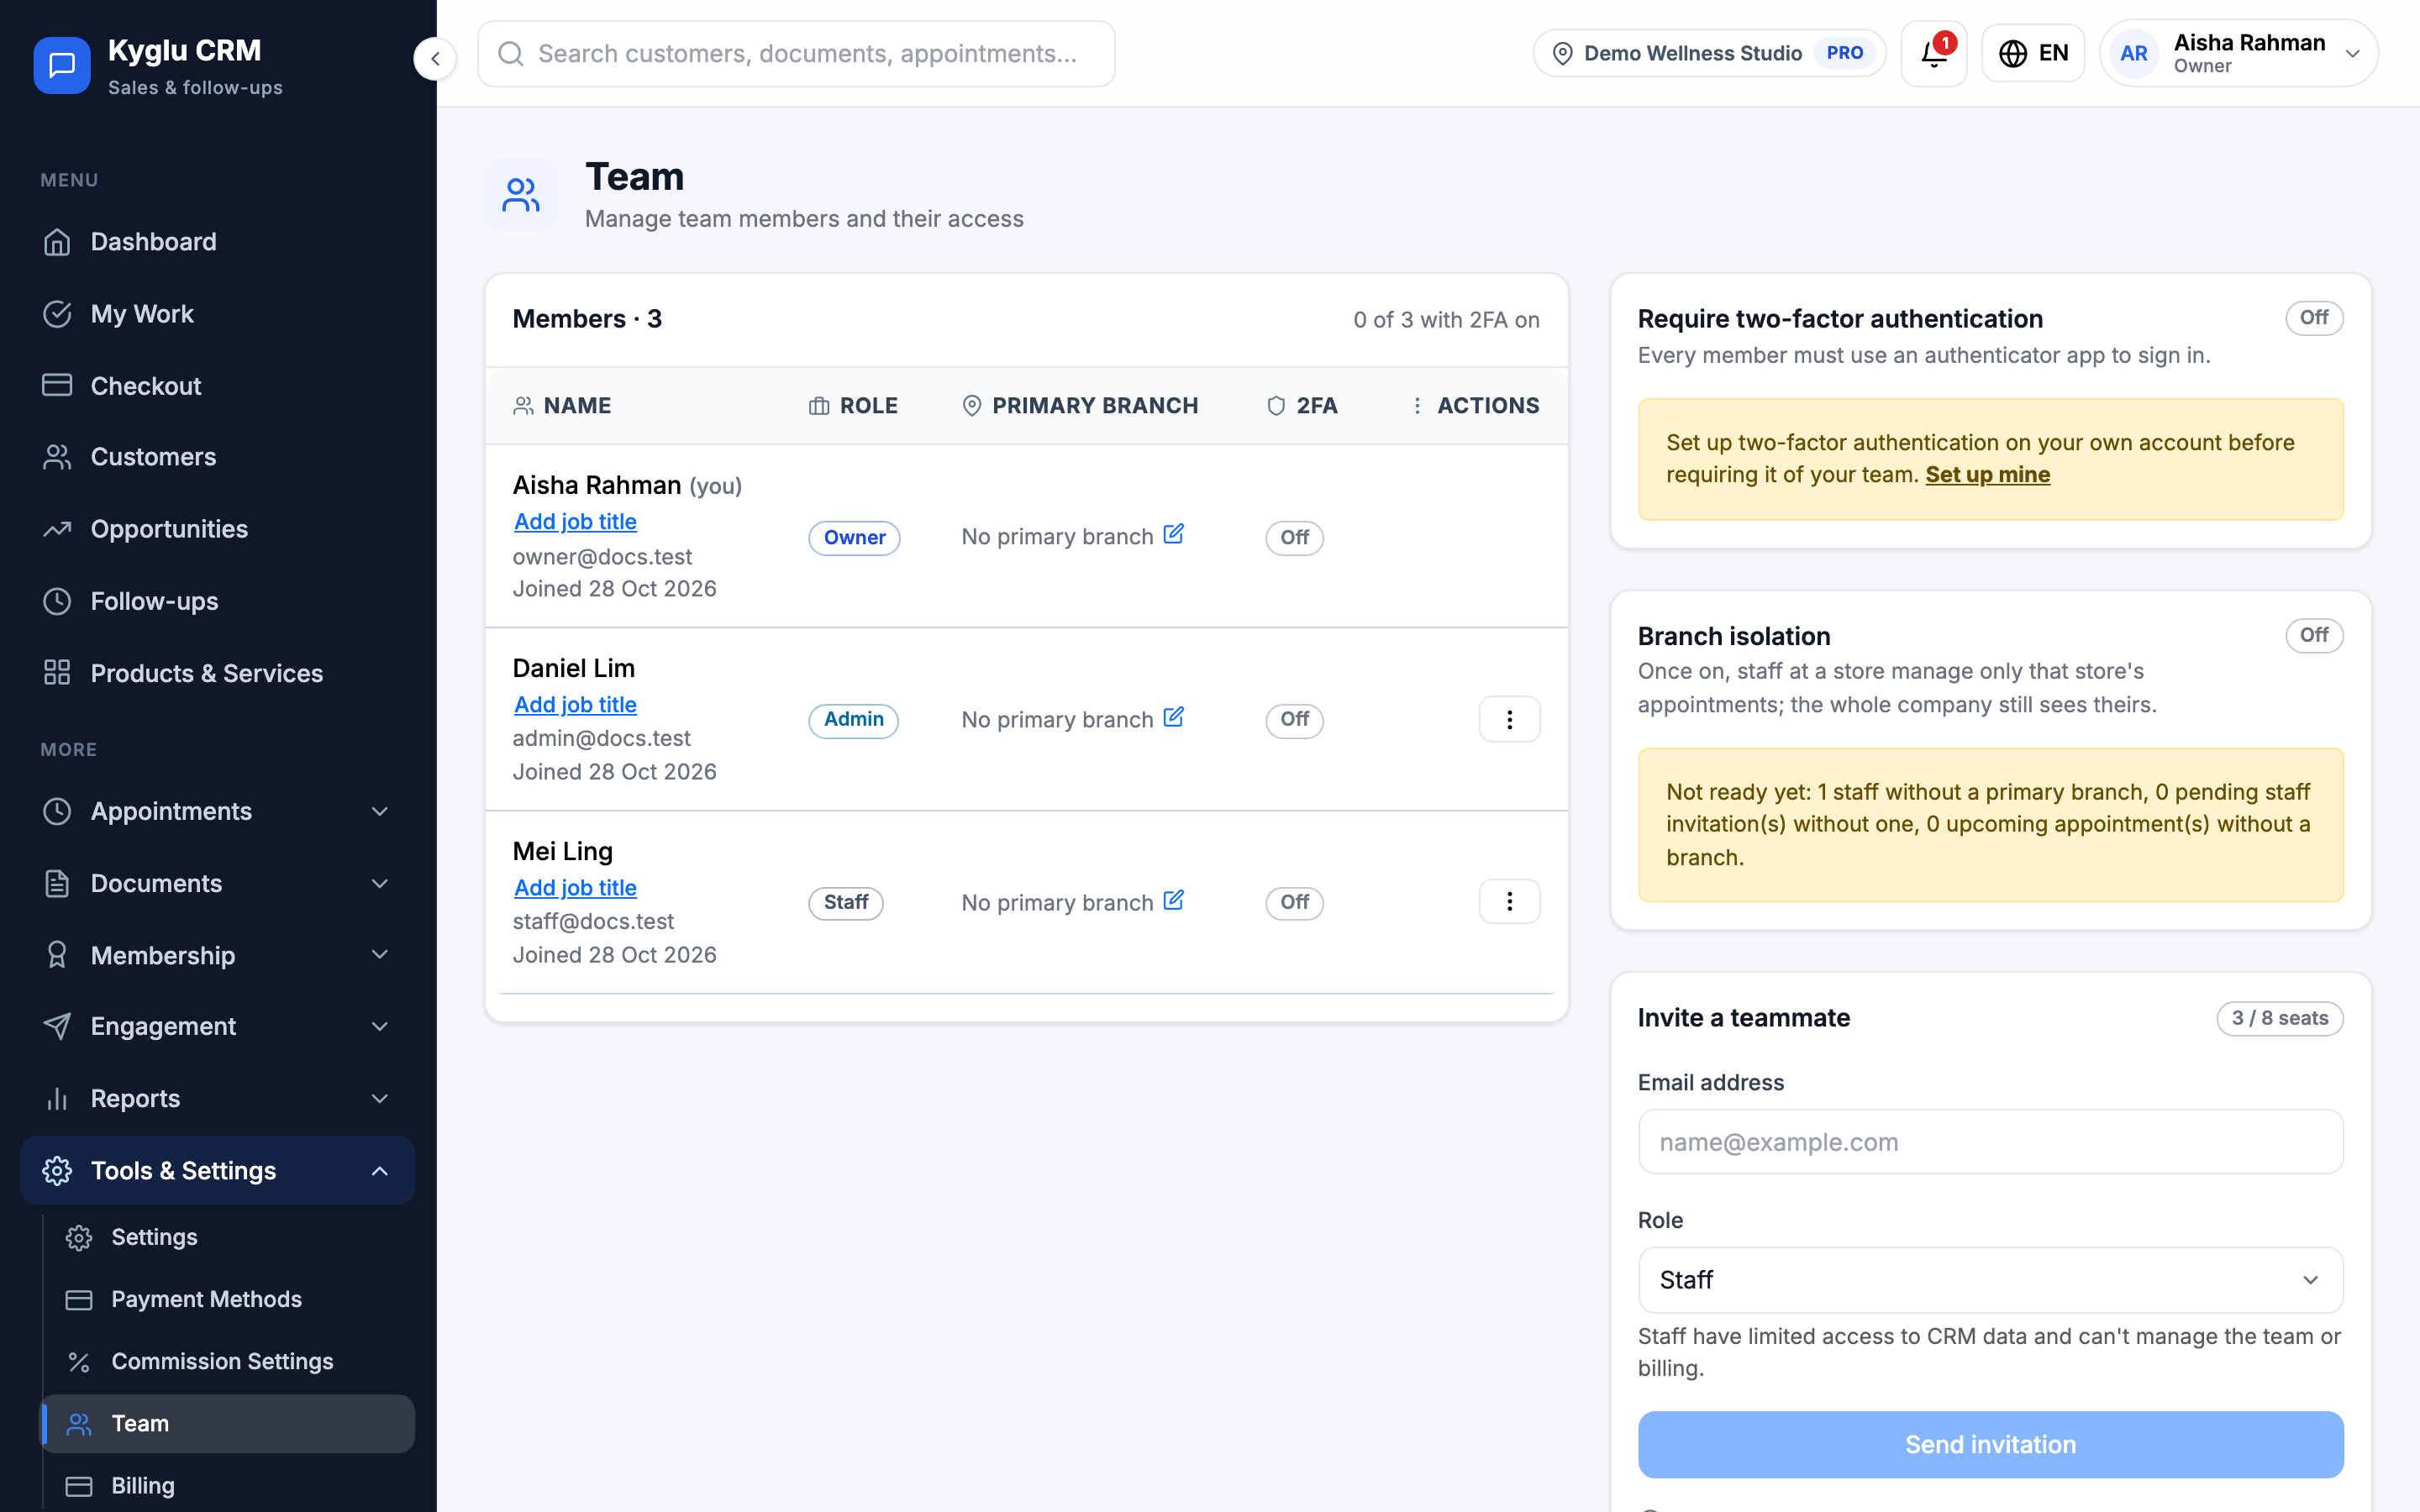
Manage who is on your team, their role, and what extra access staff have. Everything here is on the Team page.
Who can do this: Owner and Admin. Some actions are Owner-only, as noted below.
To open it, go to Tools & Settings → Team.
Roles
| Owner | Admin | Staff | |
|---|---|---|---|
| Work with customers, appointments and documents | All | All | Own records* |
| Manage Company Settings, booking setup and branches | ✓ | ✓ | |
| Invite and remove team members | ✓ | ✓ (staff and admins) | |
| Change an Admin's role or remove an Admin | ✓ | ||
| Require two-factor authentication or turn on branch isolation | ✓ | ||
| Manage billing and seats | ✓ |
* Staff can be given more access with extra permissions.
There is one Owner per account, and the Owner's role can't be changed or removed. To invite people, see Inviting Your Team.
Extra permissions for staff
Staff normally see only their own records. You can tick one or more areas to give a staff member Admin-level access to just those areas. Their role stays Staff.
- On the Team page, open the actions menu next to the staff member.
- Choose Manage permissions.
- Tick the areas to grant, then click Save.
| Permission | What it allows |
|---|---|
| All appointments | See and manage the whole company calendar, assign staff and override booking conflicts |
| All customers | Edit or delete any customer, manage their packages and points, and invite them to the app |
| Sales & documents | Manage all quotations, invoices, opportunities and follow-ups, and assign salespeople |
| Reports & activity | Staff sales report, sales funnel, company activity log and the whole team's work queue |
| Catalog | Products, services, vouchers, package definitions and customer tiers |
| Marketing & automation | Templates, scheduled messages, automation, promotions, rewards and notifications |
Team management, billing and Company Settings can never be granted to staff.
Every change to permissions is recorded in the Activity log.
Manage a team member
Open the actions menu next to a member:
| Action | Description |
|---|---|
| Change role | Switch between Admin and Staff. Only the Owner can change an Admin. |
| Manage permissions | Staff only. See above. |
| Branches to switch to | Owner only, when you have more than one branch. Choose which branches this person can switch to from the top bar. This changes where their pages open and where their new records count, but not what they can see. |
| Remove member | They can no longer access your workspace |
You can also edit a member's details directly in the list:
- Job title, for example "Hair stylist"
- Primary branch: the store they belong to. Where they can be booked still depends on their working hours and shifts.
- Commission level: shown when you've set up commission levels. See Commission Settings.
You can't edit or remove yourself.
Once removed, a member can no longer access your workspace. To bring them back, send a new invitation.
Seats and licences
The top of the Team page shows your seats, for example 3 / 3 seats. If your team ends up over the plan's limit, members beyond it show No licence and can't use the app.
The Owner can choose who keeps access with Keep a seat and Release seat, or add seats on the Billing page.
Security settings on this page
The Team page also has two company-wide switches:
- Require two-factor authentication: Owner only. Every member must use an authenticator app to sign in. See Security & 2FA.
- Branch isolation: Owner only. Once on, staff at a store manage only that store's appointments. See Branches.